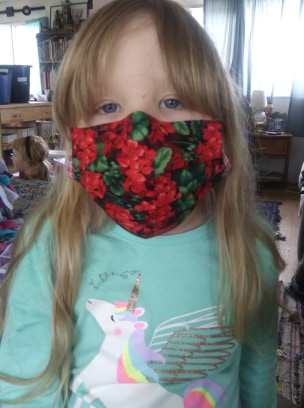
These masks are for a double layer 100% cotton mask that has an accordion style fit. They include a wire across the nose to fit mask over the nose. I have found that this size fits most; of course you can adjust the straps for your face size, etc. It’s quite simple, so you won’t have to make any really challenging measurements or anything like that. I made some smaller ones for my kiddos, etc. I will preface this by saying I’m not a professional seamstress by any sense of the imagination; and I have nail polish that’s coming off… I’m just a busy mom who figured out a way to quickly and easily make masks for my family and others, and I hope this helps!

It would be possible to leave a slit underneath to place a filter in since they are dual layer; but this tutorial is for the basic mask.
Materials you need:
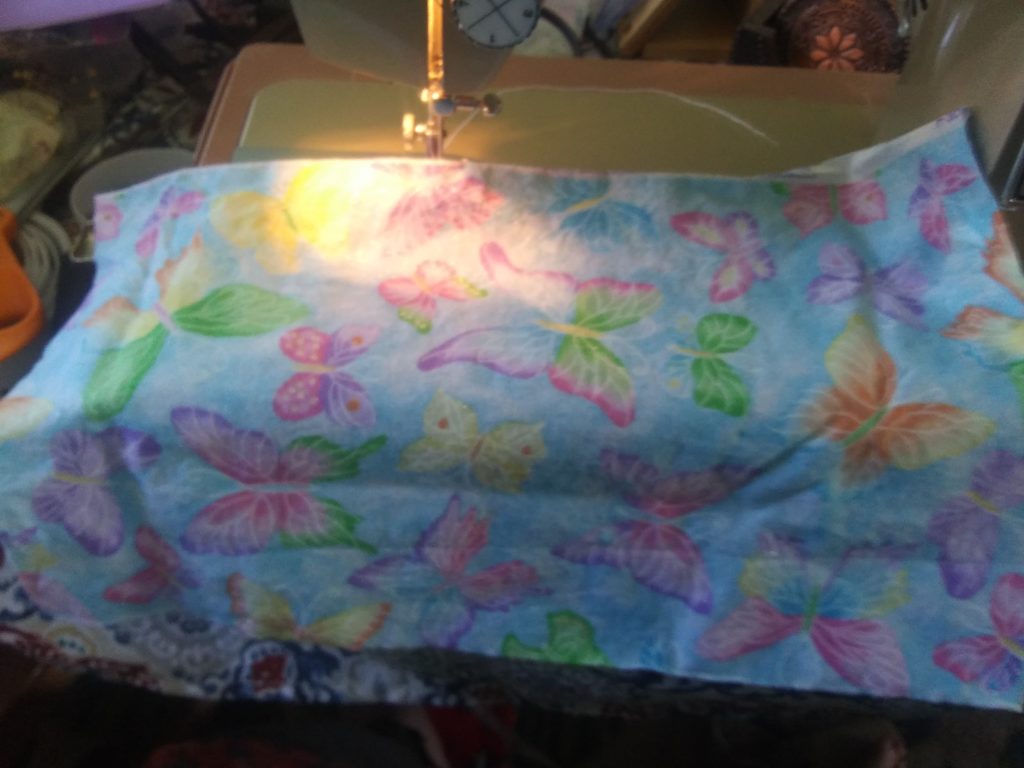
1) A 16 inch by 9 inch piece of 100% cotton fabric. I find that the basic quilting fabric is the easiest to use. For those on an extreme budget: you can also use 100% cotton t-shirt fabric, or 100% underwear fabric. Anything not too thick and 100% cotton will work!
2) Two 7 inch long 1/4 inch wide pieces of elastic. For those on an extreme budget: you can use: hair ties, underpants elastic, ace bandages cut into strips… doesn’t need to be commercial elastic!
3) Thread and a needle or a sewing machine. Pins help, but again, not totally necessary.
4) A 5 inch long piece of craft wire, wire cutters. NOTE: This is NOT necessary, the mask will still work if you don’t have the wire, but if you do have it, it will fit your face better.
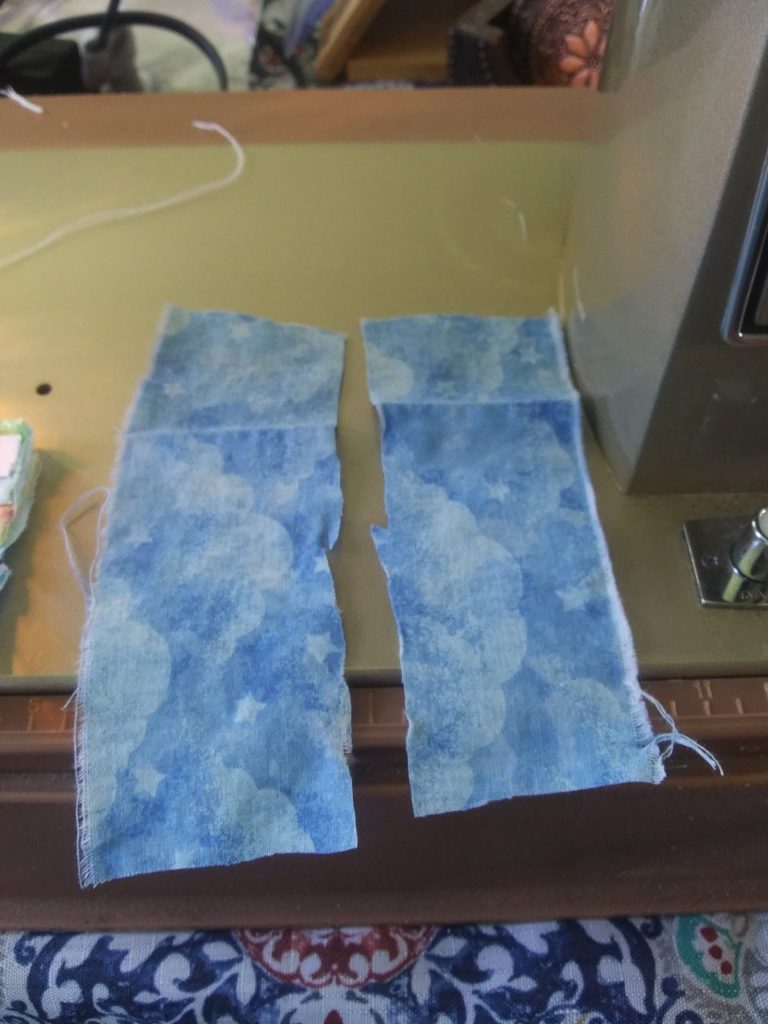
5) Two 1.5 inch by 4 inch strips of cotton fabric for edging.
That’s it!
Here’s what to do!
1) Take your 16×9″ fabric, and fold in half width-wise with the rightside of the fabric touching, so it’s ‘inside out.’ Stitch the length of the open edge.
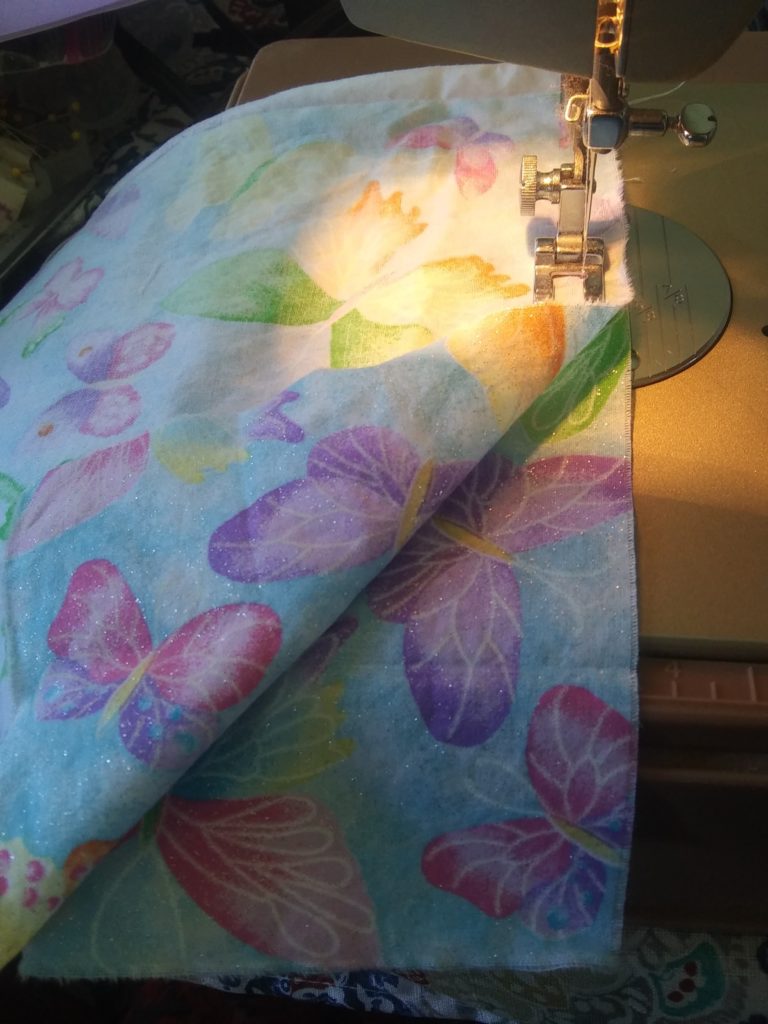
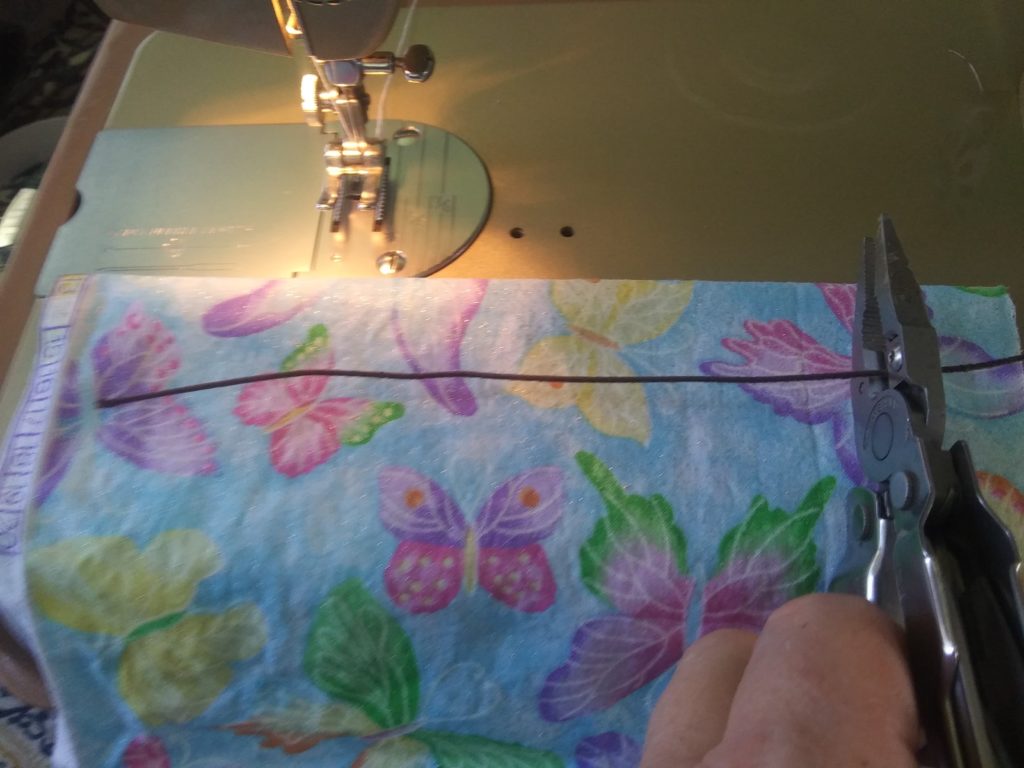
2) Turn this fabric tube rightside out, and place the craft wire inside the crease on the side opposite the one you just stiched, and center it. Either pin or hold the wire against this crease, and make a stitch down this edge so that the wire is encased inside.
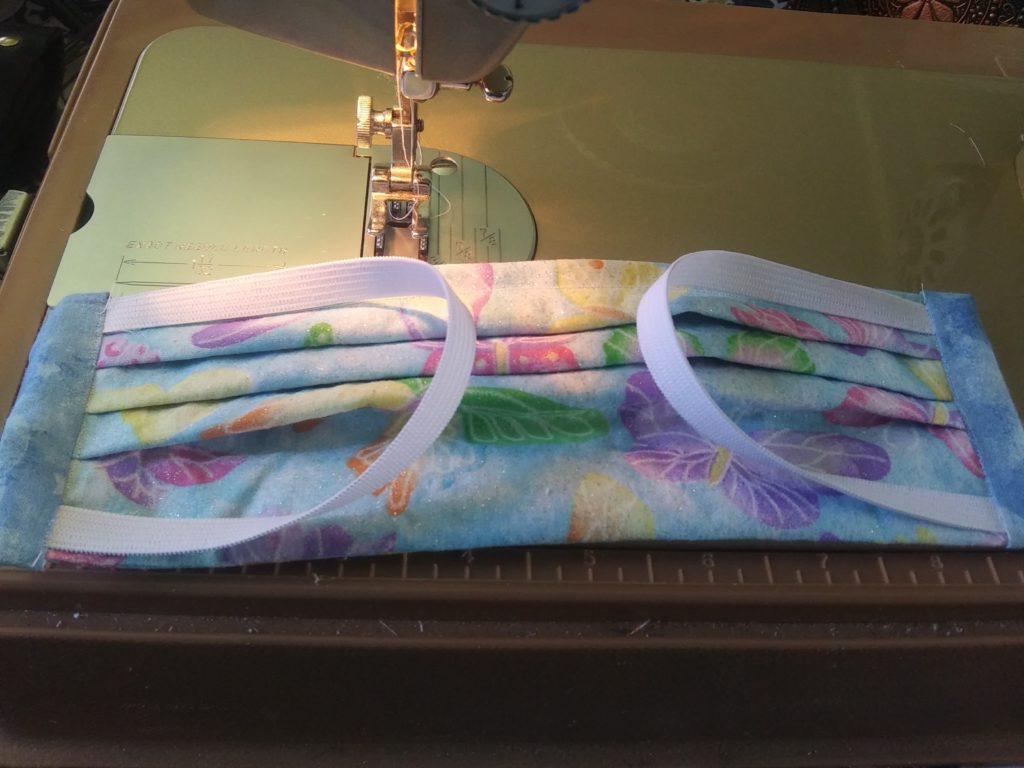
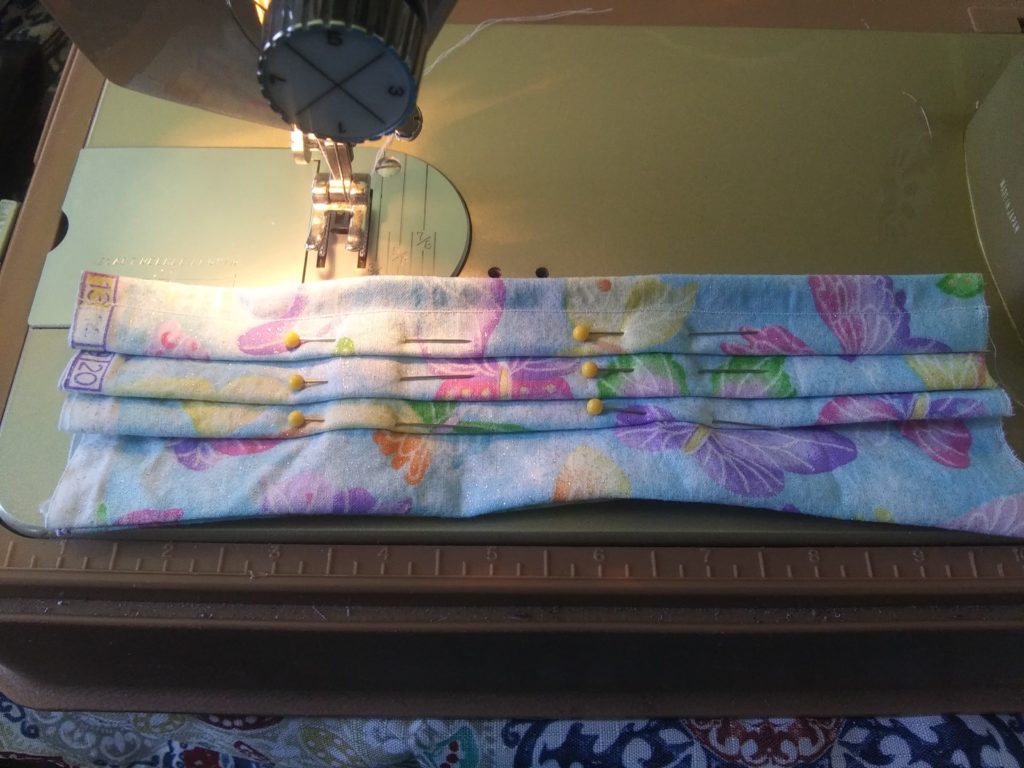
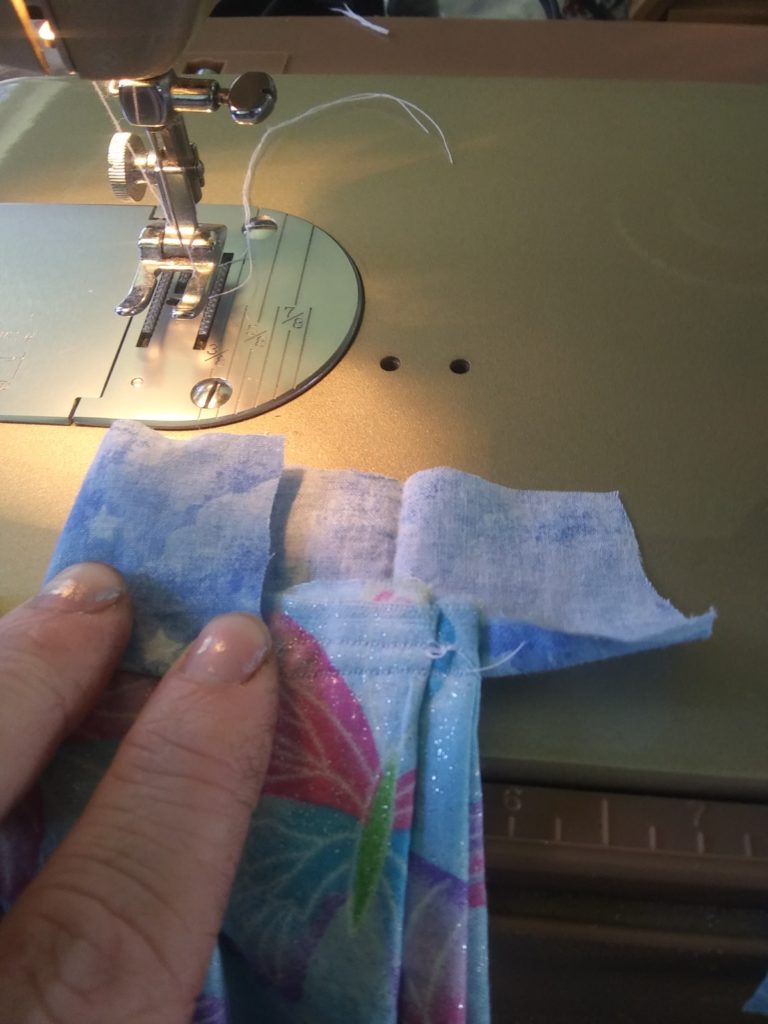
3) Take the fabric with the craft wire side as the top. Make an accordion fold about an inch down (see picture, if this is confusing); basically fold down an inch (or an inch and a half), and then fold halfway back up. Pin in place.

4) Make two more accordion folds, going down the length of the mask, until the mask is about 3 to 3.5 inches wide. Pin in place.
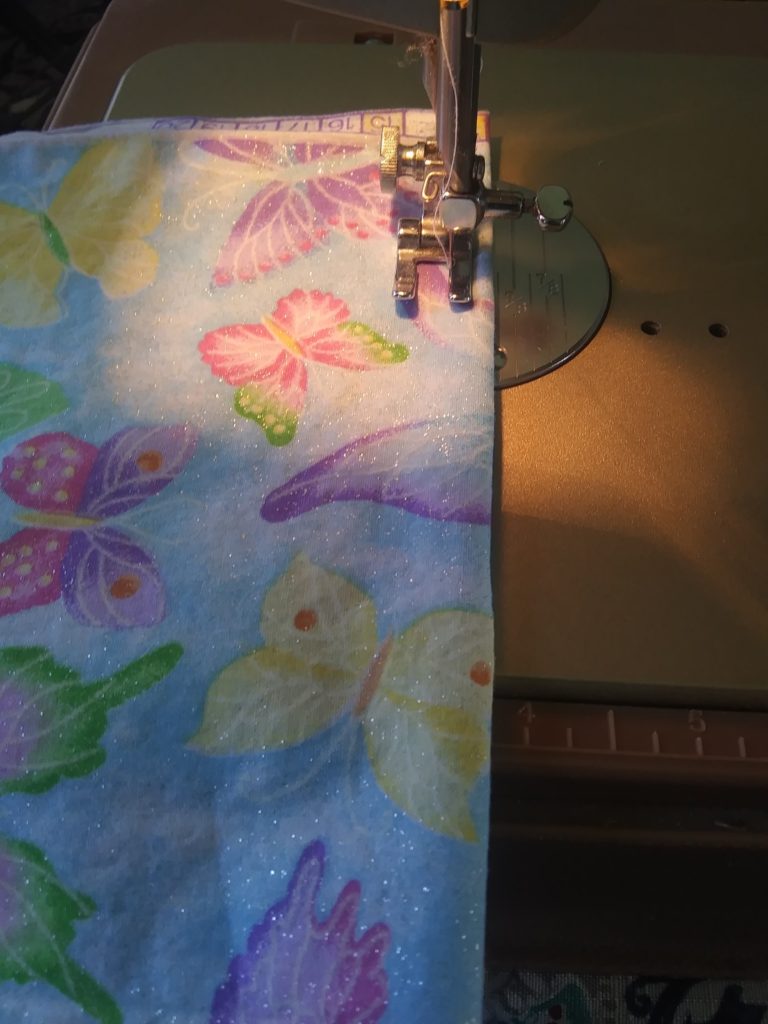
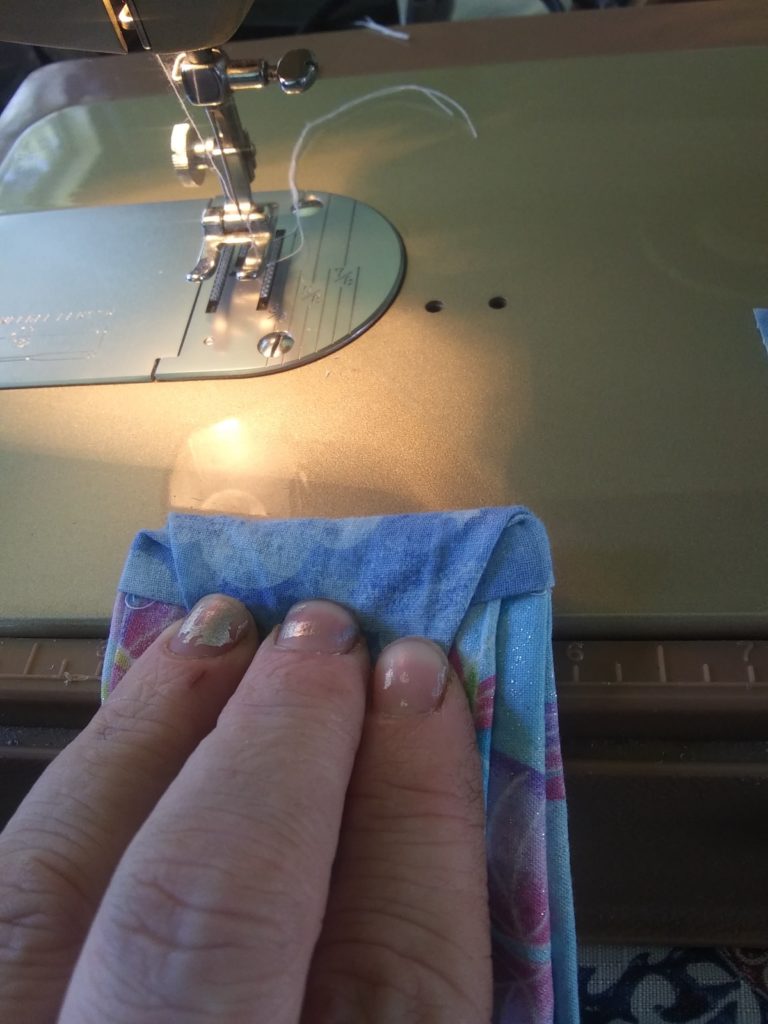
5) One on side of the mask; position the elastic, one end at the top of the mask, one on the bottom. Stitch from top to bottom, securing the elastic to the mask, and securing the accordion folds in place.
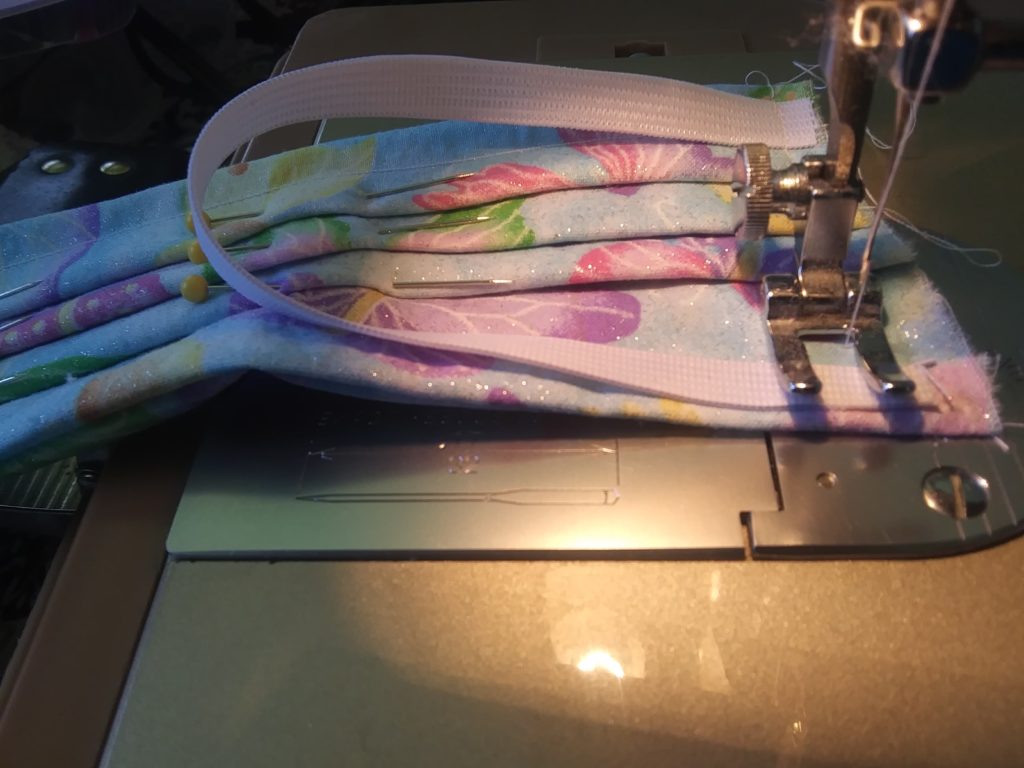
Do the same thing on the other side; remove pins.
6) Theoretically; your mask is now functional. I choose to put edging on it because it’s neater, so if you would like to continue on; this is how I add my edging.
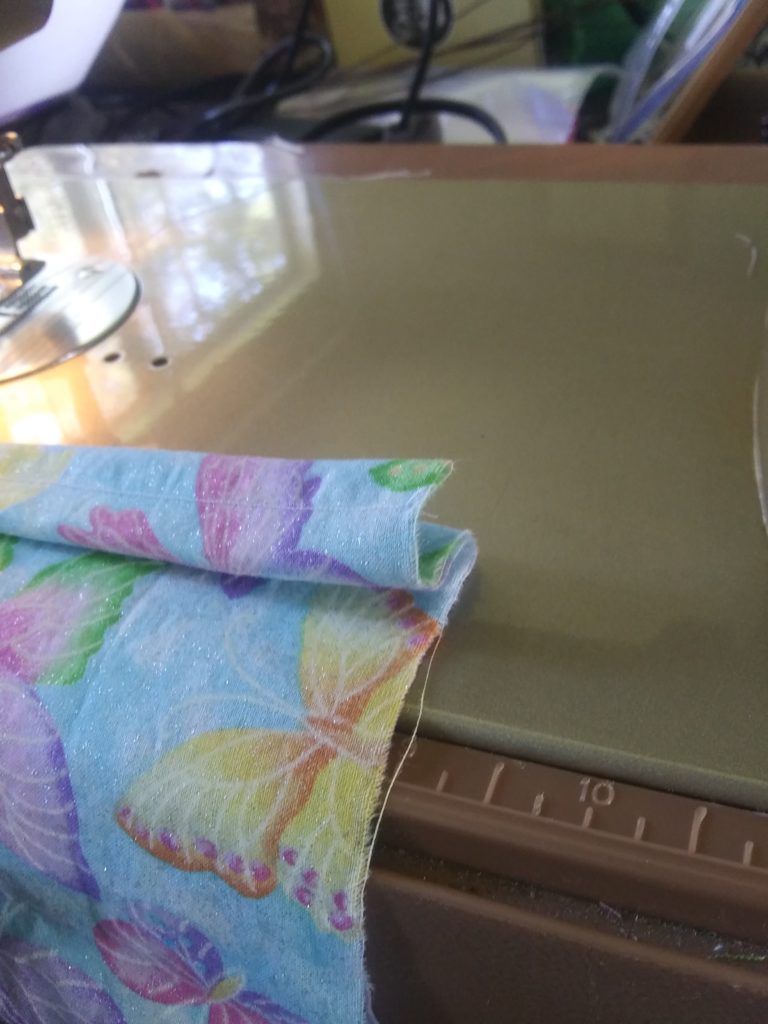
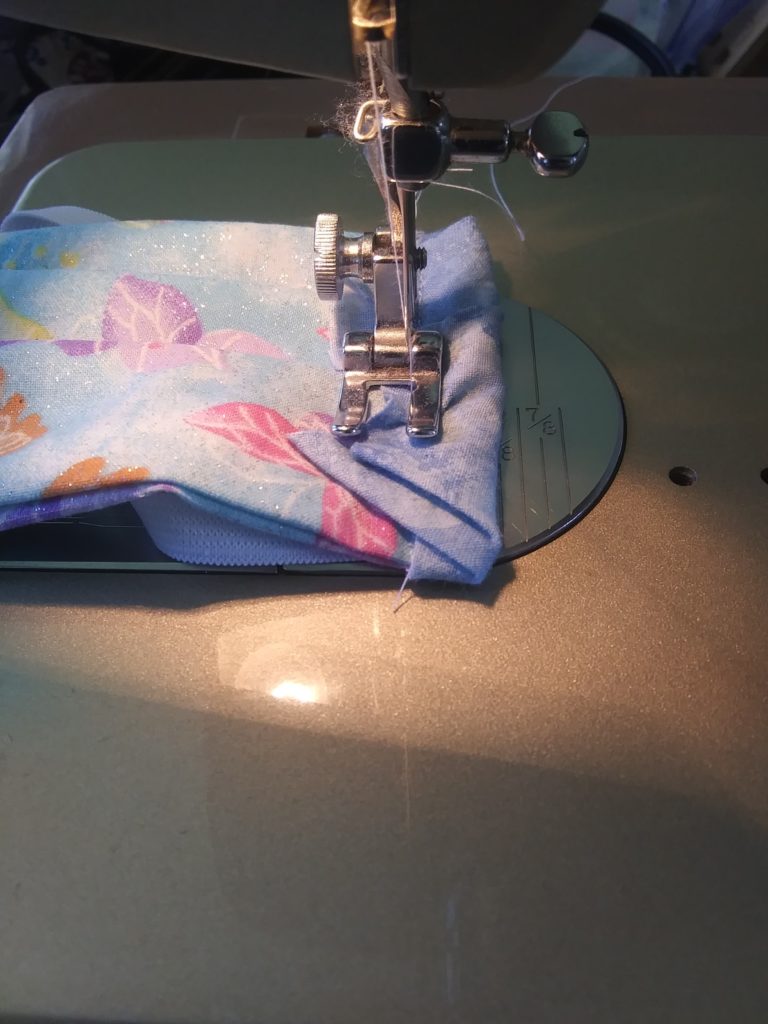
Take one of the 1.5×4″ pieces of fabric and line it up with one side edge with the right side down, and stitch about 1/4 of an inch in.
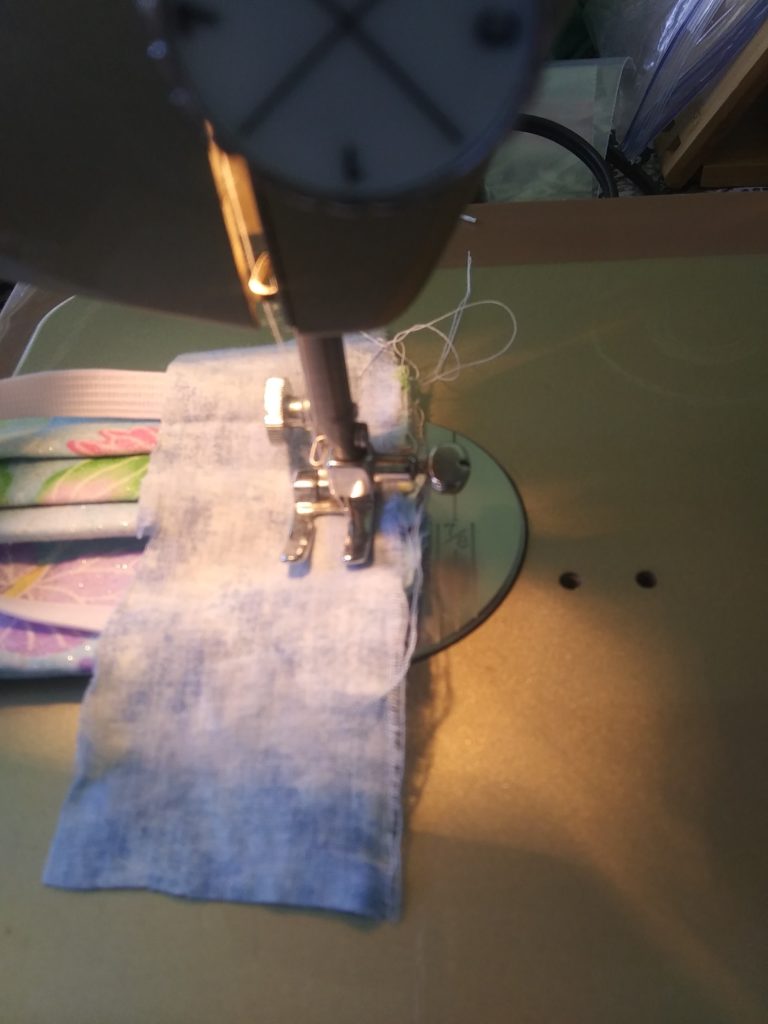
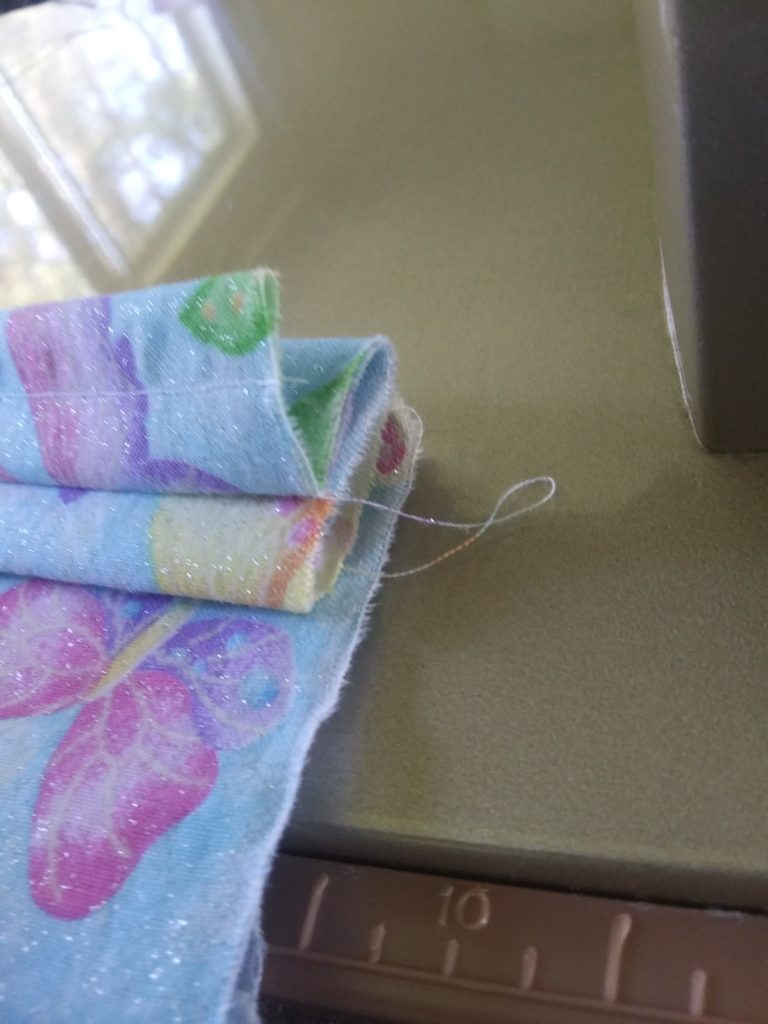
7) Flip the edging fabric around to the other side, fold under, and stitch one more time.
8) Trim off excess fabric and threads, and you’re done!