Making your own cheese is really fun! This is our second blog post on how to make cheese easily. See our post on making Paneer Cheese which is rennet-free. Here we will learn to make Fresh Mozzarella! This particular recipe uses cow’s milk and vegetable rennet. To make vegetable rennet, click here for instructions. You also can use animal rennet if you choose (in tablets or liquid form) or microbial rennet. I don’t personally recommend microbial rennet because it gives your cheese a bitter taste in my opinion.
You will need:
1 gallon of milk. Whole, Raw cow’s milk works best for this project. You can use milk that has been pasteurized, but NOT ultra-pasteurized, so check the label on your milk. It will not work; I promise you (sorry).
NOTE: Some recipes use a microwave; and may be easier for you. I don’t own a microwave on purpose, so I am showing you the water bath method.
1.5 Tsp Citric Acid (For Oregonians, you can get this in the canning supply section at BiMart!)
1 cup vegetable rennet, OR 1/4 of a tablet animal rennet OR 1/4 tsp liquid rennet. If you’re using the animal rennet tablet or liquid, dissolve this into 1/4 cup of cool water and set aside.
Water (unchlorinated!)
1 tsp salt
Two good sized pots
Two Good Sized Bowls
A colander
A food thermometer
A knife
Slotted Spoon
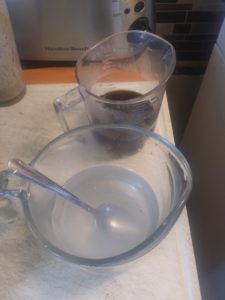
1) Prepare Rennet as mentioned above, set aside
2) Prepare Citric Acid. Add 1.5 tsp of citric acid to 1 cup cool water. Pour this into your pot.
3) Pour the entire gallon of milk quickly into the pot to ensure it mixes with the citric acid.
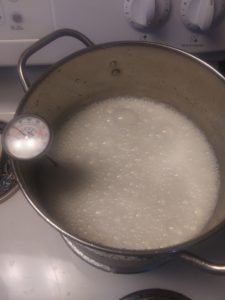
4) Place the thermometer into the pot, and begin to heat the milk over medium heat. Heat the milk to 90 degrees F. You may need to increase the temp to 95 or 100 if it does not start to curdle.
5) Fill the other pot with water (unchlorinated!) and start heating it. It will eventually need to be 175 degrees F.
6) When the milk reaches 90 degrees, remove the milk from the heat and slowly add the rennet. Stir top to bottom for 30 seconds. Then cover the pot and let sit for 5-10 minutes. If you check the curd after 10 minutes and it hasn’t set, let sit up to a half hour. It should look like custard floating in green/yellow whey.
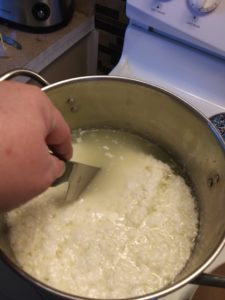
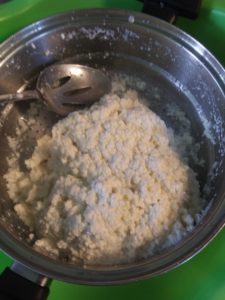
7) Cut the curds into a checkerboard pattern. Place the pot back on medium heat and raise temp to 110 degrees F while slowly stirring with slotted spoon. Take the pot off the heat and continue to stir for 5 more minutes.
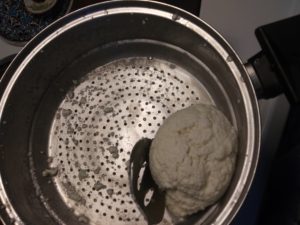
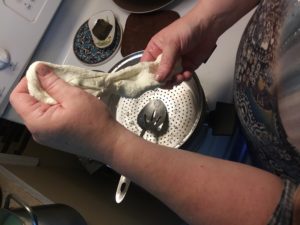
8) Use the slotted spoon to scoop the curds out of the whey and into a colander set on top of the other bowl. Let the whey drain into the bowl. Add 1 tsp of salt to flavor the cheese. Fold the curd over itself a few times and squish with the spoon to keep the whey running off.
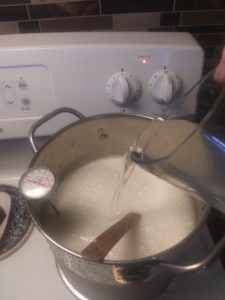
9) Work the cheese for a good while. The longer you work it the drier the cheese will be. Now, pour some of the hot water that has been heating in the other pot into one of your bowls. You may need to wear rubber gloves, because 175 degrees is pretty darn hot!
10) Place the curd into the hot water and begin working it by pressing and folding it together in the hot water. It will start to become stretchy! Keep on stretching it and working it until its the consistency of taffy. If it doesn’t stretch keep putting it back into the hot water until it stretches.
11) At first the cheese may be lumpy but it will be stretchy and smooth the more you work it. Eventually you can form it into a ball.
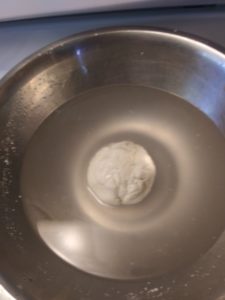
12) Place the ball of cheese into a bowl of cold water to chill the cheese and help it hold its shape.
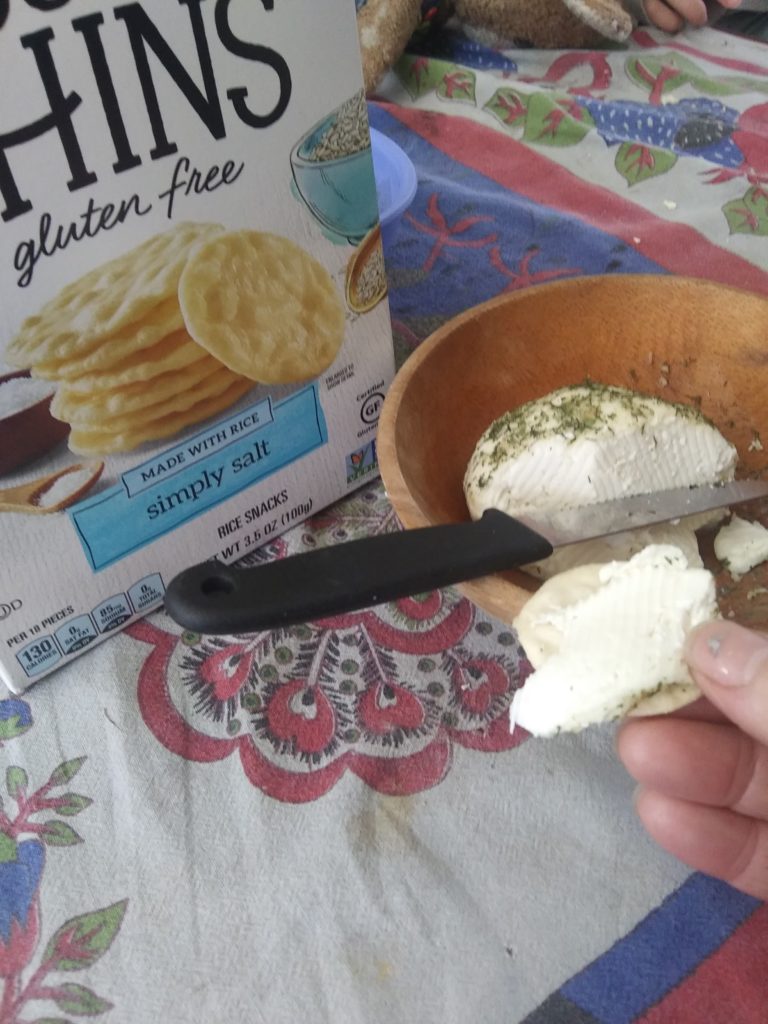
You can either eat it as is, or you can chill it in the fridge for awhile. I decided to roll my cheese in a delicious herb mix to enjoy afterward 🙂
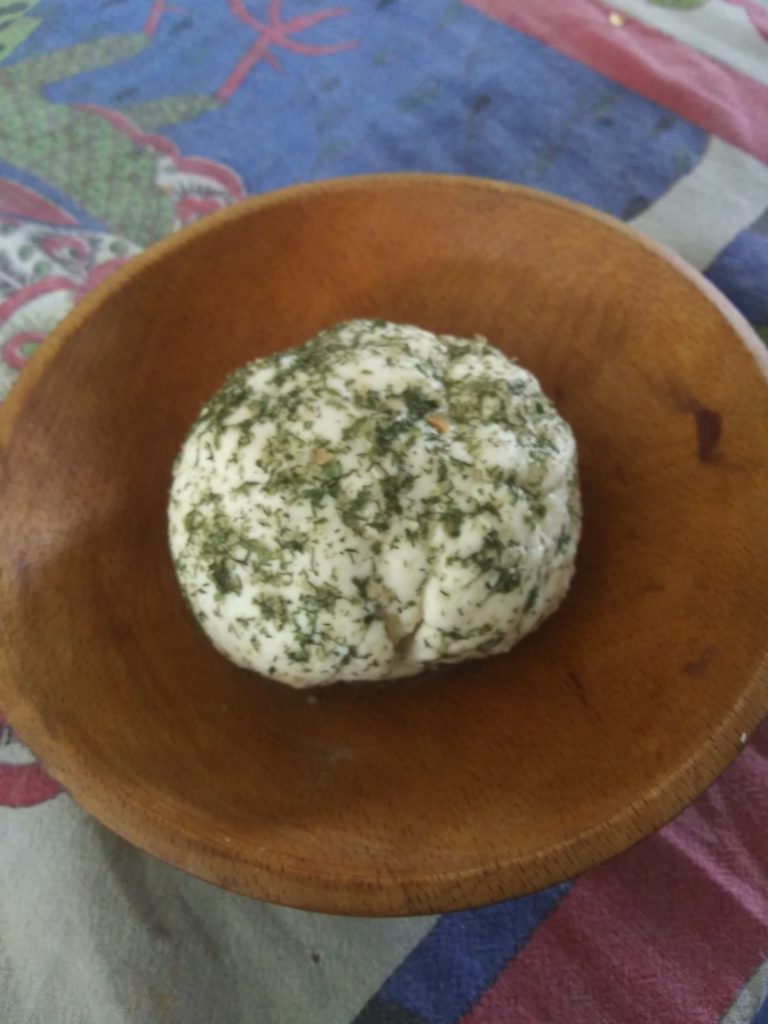
We sliced it and put it on crackers, YUM!